Mar 29, 2017
Discussion:
In this lesson, we're going to discuss two very special functions that you will use in every single Arduino sketch that you write. They're called Setup and Loop.
Specifically, we’ll cover:
- How Setup Operates and the type of code that it executes
- How Loop Operates and the type of code that it executes
- Loop Function’s Responsive Outputs
- How to get those little ships inside the glass bottles
I want you to pretend for a moment that you own a specialty Italian sub shop. Business is great, and you have wonderful customers.
However, you have one major problem. Employee turnover is very high. This is mostly because the majority of your employees are teenagers who, by nature, tend to move on to different things.
It feels like as soon as you get an employee trained, they move on to Harvard Business School or get a scholarship to MIT - or they just decide that bungee jumping all day long is better than making subs.

In order to help train new employees, you create two binders of procedure lists. One binder is called “The Morning Setup Binder”, and it lists all the stuff that you have to do when you open the store.
This binder contains things like unlock the front and back doors, turn on the “Open” sign, put the delivered sausage in the fridge, and get the broccoli out of the fridge. It's stuff that only has to be done once.
Once all of that stuff has been done, a new employee can take that binder and stick it on the shelf. Then, they can pull out “The Sub Making Binder”. This is the binder that lists step-by-step everything an employee has to do to make a sub and deliver quality customer service.
It might go something like this: When a customer walks in, welcome them with a warm, "Hello!" Ask them what type of sub they want. Ask them what type of bread they want. Ask them what type of condiments they want. Ask them if it will be for here or to go. See if they want to add one of Mama's homemade cookies to their order. I think you get the gist.
The binder lists these steps in detail and talks about the quantities of toppings for different subs. “The Sub Making Binder” is really the procedure list that drives the task of the employee and will be the binder that the new employee will keep open all day long when they're starting out. They're going to go back to it over and over again for every sub.
So, what does this have to do with programming? Well, a program in Arduino has to do similar things like the sub shop.
The Setup Function
There are certain tasks that need to be done just once when the program first starts. These are things like: setting up a serial communication to talk with the computer over a USB port, setting the modes of microcontroller pins as either inputs or outputs, displaying a welcome message on an attached LCD screen, or possibly turning a servo to a default location.
All of these things might only need to happen once when the sketch first starts and never need to be bothered with again until the program is restarted or the Arduino is reset. These are the type of tasks that are put into a special function called Setup.
Let's take a look at Setup. First, notice that the color of Setup is different. Unfortunately, the color is reminiscent of baby poop.

This automatic coloring, though, is letting you know that the Arduino IDE recognizes the function Setup as a special type of function that's used for controlling the structure of the code.
You'll also notice that right after the word Setup there is an opening and closing parenthesis. The Setup function doesn't need any arguments to operate, but you still have to include the opening and closing parentheses just as you would in any other function.
To the left is the word void. Void means that the Setup function will not return any data.
So this is a function that doesn't need any arguments from us in order to operate and doesn't return any values to us, but it does do something. Its job is to execute all the code inside its opening and closing curly braces precisely one time.

Let me say this again - and with a dramatic pause - because it’s that important! Setup only runs once. When the program starts up, Setup will run just once. All of the code inside the curly brackets will get executed one time.
If you pretend the program is like the high schooler at the sub shop, the first thing she does when she comes to work is open “The Setup Binder” and go line-by-line until everything is done. Once everything in Setup is finished, she closes the binder, and then she goes on to the next binder.
The Loop Function
For the Arduino sketch, the next binder is the Loop function. The Loop function looks just like the Setup function.
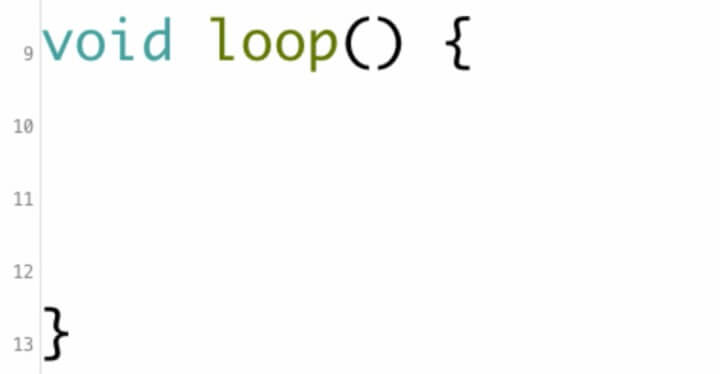
It doesn't take any arguments. It has the opening and closing parentheses. It doesn't return any values, so it has that void to the left. Then, it has the opening and closing curly brackets. Just like Setup, when Loop gets executed, the program will work line-by-line down the sketch.
However, here’s how Loop is different. When the code between the curly brackets has been executed, the program starts back at the top of the loop and does it all over again.
Back to our sub shop example, imagine the teenage employee during the lunch hour rush. He has customer after customer lined up, and he's going through each line in the procedure guide step-by-step.
He asks what kind of sub they want. He asks what kind of bread they want. He asks if they want it for here or to go, and so on and so forth. He keeps working down that list until he gets to the end of the procedure list.
Then, he starts back at the top of the list with the next customer. He does this over and over and over, all through the lunch rush and all day long.
This is how the Loop works. It executes all of the code inside the curly brackets, step-by-step. When it gets to the closing curly bracket, it starts all over at the top, working through all of the code again, line-by-line. It does this over and over and over.
How fast can it go through the loop? How fast can it actually execute this code? Well, that's a really good question. The answer is that it depends, but the microcontroller that the Arduino uses can run at 20 megahertz.

Each line of code you write might end up being multiple instructions when it actually gets translated into machine code, but needless to say, even a sketch with several thousand instructions will be looping pretty fast.
Even though I really do like this sub shop analogy, there's one key place that it breaks down. I want to point it out so that you're not misled.
In the sub shop example, the teenager waits to start the instructions again when a new customer shows up. In reality, the code in the Loop automatically starts over. Once it gets to the bottom, it jumps back to the top. It doesn't wait for any outside input to do so.
Responsive Outputs for Loop Functions
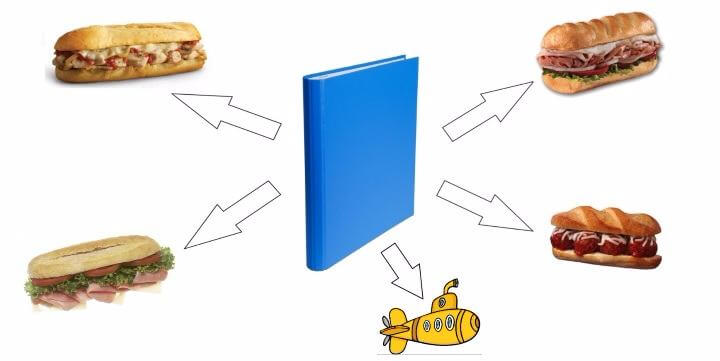
You might be wondering how the same code running over and over again can produce any coherent result. How does it add any variation?
Well, think about that teenage sub maker. Do you remember the steps that she had to follow? Many of the steps could have different results depending on the response of the customer. So she may have had one procedure guide, but she could make a giant variety of tasty subs as a result.
It's the same way with the programming code. You're going to write instructions that will do different things based on different new inputs.
For example, if the water level is above some threshold, then beep an alarm. Otherwise, don't do anything. As the code loops over and over again, it's probably doing nothing until it sees that the threshold was too high. Then it executes what you've asked it to do.
Or maybe something like... while the light is shining, keep the servo arm at 60 degrees. There's all types of amazing things that you can do and all types of possibilities of how you can control things.
There’s one last thing to keep in mind. The Setup and Loop functions are required in your sketches. Your sketches will not compile without them being present.
In fact, these two functions are so integral that when you open up a new sketch in the Arduino IDE, you'll find them already there for you pre-populated.

Review
This was a lot of information, so let's review. Setup and Loop are special functions that help define the structure of the program.
Setup is written before the loop and only executes once. All of the code in the Setup function only runs once.
The code in the Setup function does things like set pin modes, start serial communication with the computer, display default messages to an LCD screen, or just about anything that needs to happen only once at the beginning of a program.
The Loop function comes after the Setup function. All of the code in the Loop function runs over and over forever really fast.
Both the Loop and the Setup function are required in your sketch. The program will not compile without them.
If you ever forget what the Loop and the Setup do, just say their names. Setup sets up the sketch. Loop loops over and over again. I hope you have a wonderful day, and I can't wait to see you in the next video lesson.